Enable Default SharePoint Integration in Dynamics 365 CE
This post is part of the SharePoint series.
Additional Dataverse functionalities
As mentioned before, Microsoft is not just another Database. Instead Dataverse offers a lot of additional functionality that can be configured sometimes very easy and will bring you a direct benefit in your projects. Nevertheless, you should always evaluate, if you need a specific feature and if the out of the box functionality that is provided by Microsoft as part of the Platform fits your requirements.
One of these examples is the Integration with Microsoft Sharepoint. And in this case, we are talking about SharePoint as a Document Management System and not as some kind of Data Source which is (unfortunately) often used in a lot of Canvas App projects as SharePoint is often included in the existing M365 licensing. But this is another topic that I cover in another post.
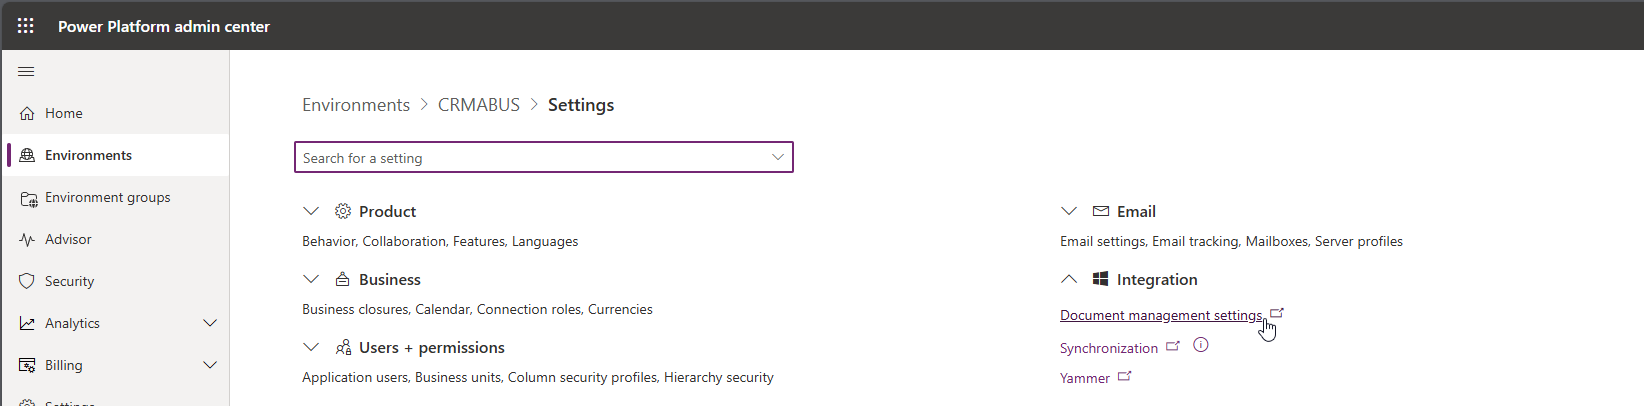
To make it clear, that this integration is just focusing on the Document Management part, Microsoft has put this Integration in the Settings of your environment. So either you can use the Classic Editor / Advanced Settings dialog to navigate to the settings, or you can use the Power Platform Admin Center, select the environment where you want to setup the SharePoint Integration, select Settings,
 Integration and finally Document management settings.
Once you have selected the Document management settings, the experience is the same, as the dialog is still the classic one.
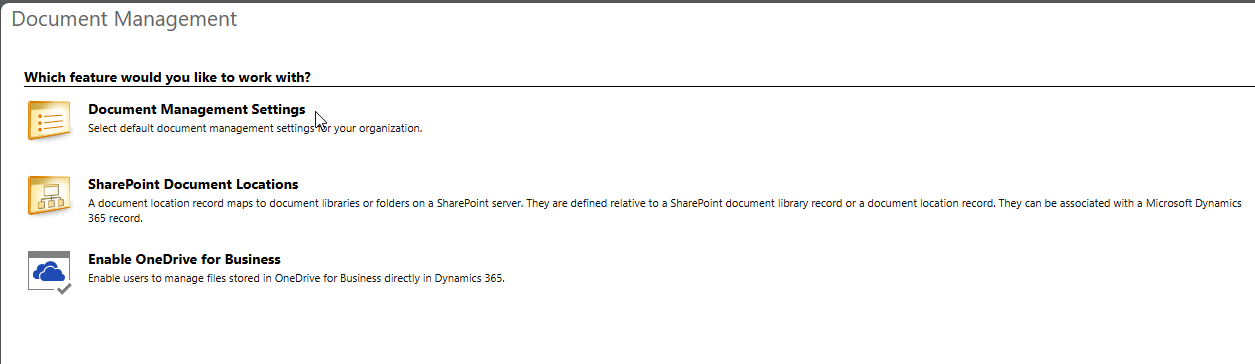 In this Window, 5 different options are shown. When nothing is configured, the second option on the right side is “Enable Server-Based SharePoint Integration”. This is the Option we are looking forward to use.
 But before we start, make sure, that your SharePoint destination is already existing. Therefore, verify that a site, that you want to use for the integration is already available in the same tenant. Eventhough On-premise integration is also available as an option. I will completely focus on the SharePoint Online setup.
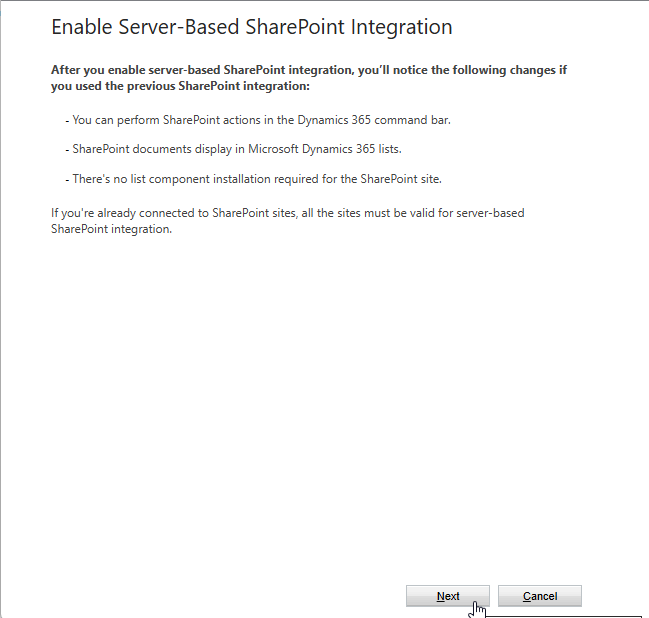
- The dialog that appears in a pop-up window consists of 4 different steps. The first one is just an information what the integration can do.
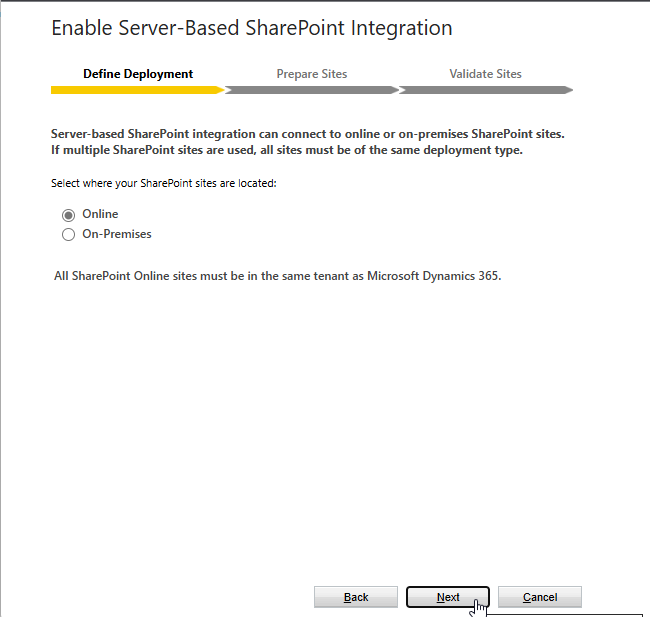
- The 2nd screen that appears after clicking the next button will allow you to choose if you want to connect to SharePoint Online (default) or On-Premise.
- In the Prepare Sites step you will then enter the URL of your prepared SharePoint Site. It is important, that the URL has the following schema: https://yoursharepointdomain.com/sites/yoursitename
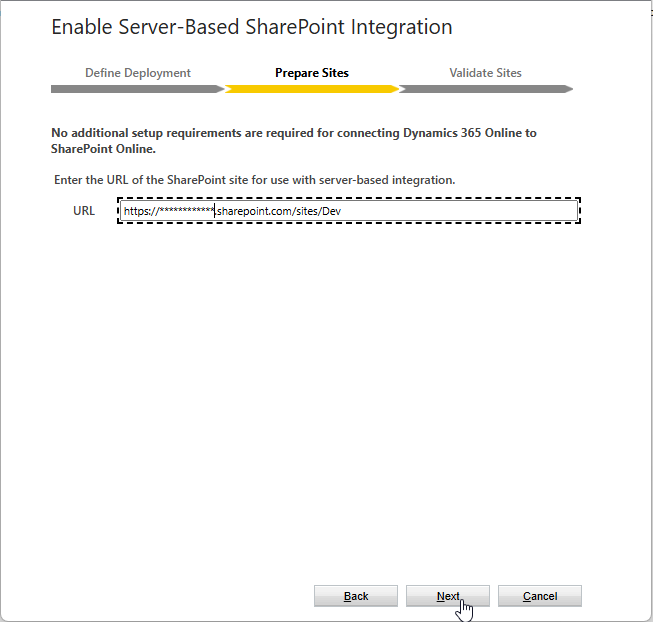
- Once you have entered your site and clicked on next, the URL will be validated.
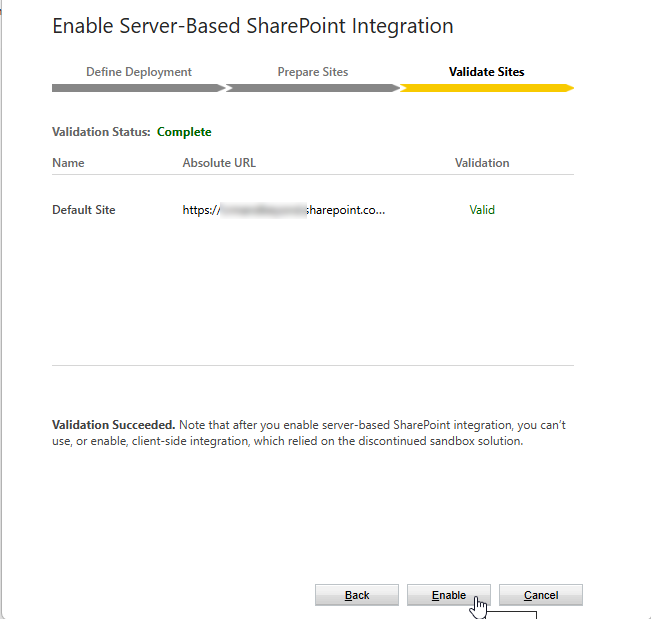
- If successfull, you can enable the SharePoint Integration and the Pop-up windows closes. Now you have to wait for Approx. 15 minutes. In this timeframe you will still see the option to “Enable the Server-based Integration”. Just wait and refresh after a while. When everything went fine, the option is now changed to “One Note Integration”.
 Even before the option changed, you can already verify in the top right option “SharePoint Sites” that a record with your Site entries has been created.
Basically the Integration with SharePoint has been activated now. But it is not configured and we will cover this in the next post, as you have to make some decisions first, how to proceed and what will be the scenario of your choice.
Be aware, that this is just a very high level integration that Microsoft offers out of the box. You need to manage the Access to SharePoint completely independent from Dataverse in SharePoint. If this is not what you are looking for - there are some 3rd party tools available that will help you to cover some more advanced requirements.
All parts of this series (22)
- 11. Custom SharePoint Integration with Dataverse
- 14. Setup Document Management Settings
- 17. Enable Default SharePoint Integration in Dynamics 365 CE
About CRM and Beyond
Jörgen Schladot

Solution Architect
Dynamics 365 CE & Power Platform
@ Avanade Deutschland GmbH
How to connect


Recent Posts
Tags
 azure
azure
 copilot
 dataverse
 dynamics365
Archives