Level up for Dynamics 365 / Power Apps
This post is part of the BrowserExtensions series.
Click on the Rocket icon
This is one of the sentences I heard and used by myself quite some time over the past years. The small Rocket icon of Level up for Dynamics 365 and Power Apps has its place in every Edge or Chrome profile that I am using to work with Dynamics 365 or Model Driven Apps. It’s really helpful in different situations and even though I am not using all the functionalities all the time, many of them are a regular part of working with any kind of Model Driven App.
![]()
Let’s get started
If I had to guess, I would say that most users will Level up only either the forms, navigation or views tab, as there are already so many functionalities covered in these three tabs.
Forms
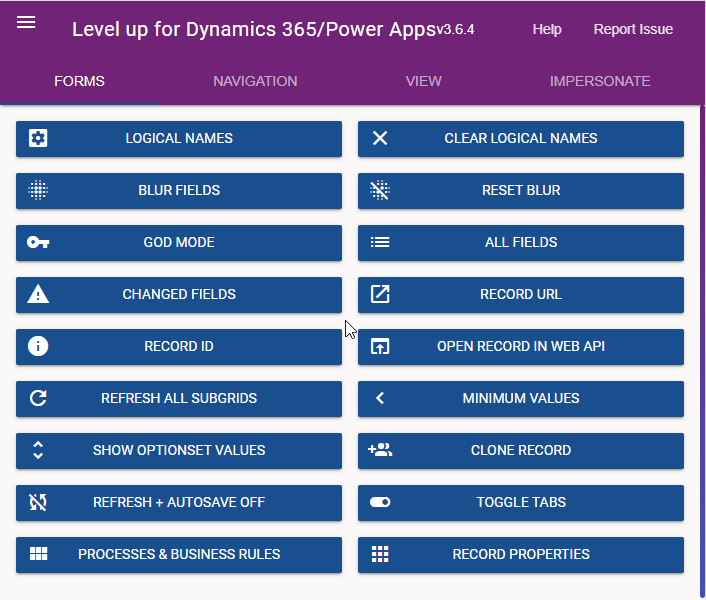 I will not go through all the Options, but will try to cover the ones, that I personally use most. Either you want to see directly the logical names of the fields on a form, or for a screen shot or screen sharing you need to blur the values - Level up has the right tool. With All Fields it will open a new tab where all columns of the table are listed, even the ones that are not visible on the form and also the values of the current record are shown. As the list can be quite long, the search in the top left, where you can search either for parts of the attribute or of the value is very helpful.
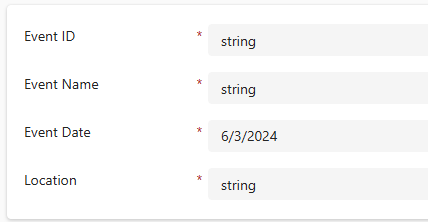
Minimum Values can be a little bit misleading. It has nothing to do with the minimum value e.g. that can be used on a number column. This option can be used to fill all mandatory columns on a new record with one click based on the column type - e.g. entering “string” in a text column or the “current date” in a date column.
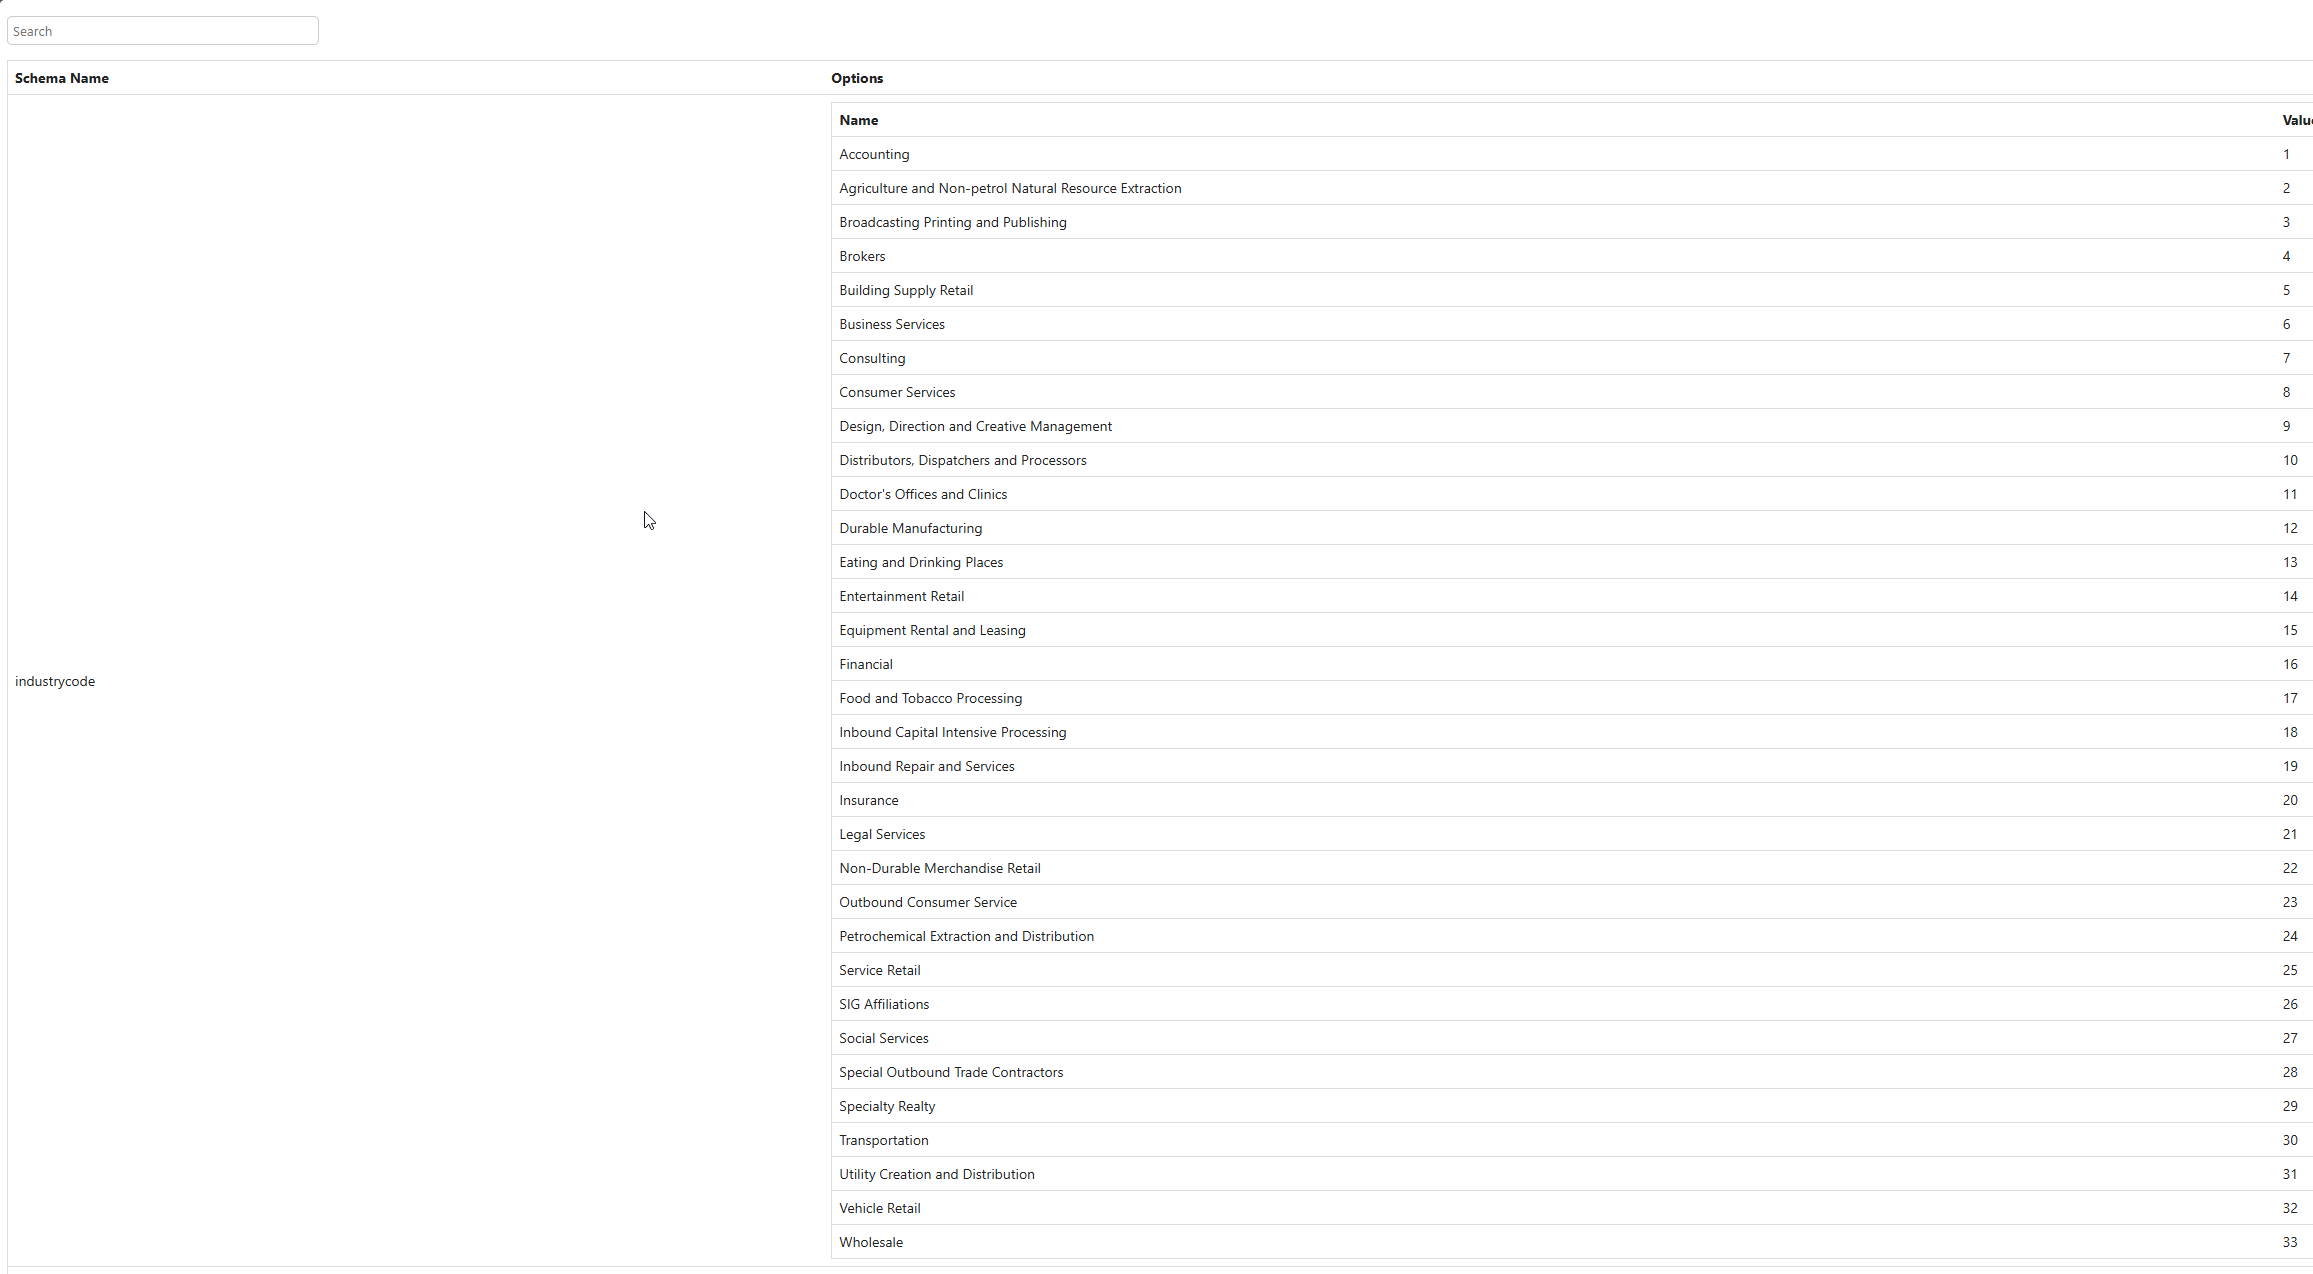
Another one of the options that I regularly use on a form is Show Optionset values. This one opens as well a new tab, but this time, all choice columns with their schema name, Option name and respective Value are shown. This is really helpful, if you need to get an overview of your existing choice values or you need a specific number value to select a specific option by code.
Navigation
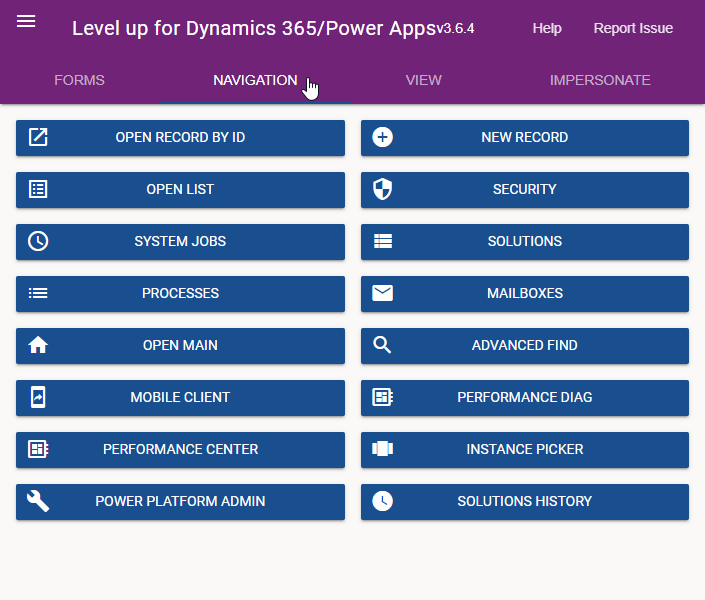 The Navigation tab offers some direct links to sites related to your current environment. Either you want to have direct access to you mailbox settings, the processes used in your app or you just want to have direct access either to the Solutions in the maker portal or to the Power Platform Admin Center.
With the Navigation tab you are covered. And there’s even more - there are 2 options regarding performance measurements, where you can get insides about the loading times of your application, or you have direct access to the classic Advanced find where you can download Fetch XML. (Don’t underestimate the power of the classic Advanced find. This is one powerful functionality.)
And if you know the logical table name and GUID of your record, you have the option to open either a record directly or access a view.
Views
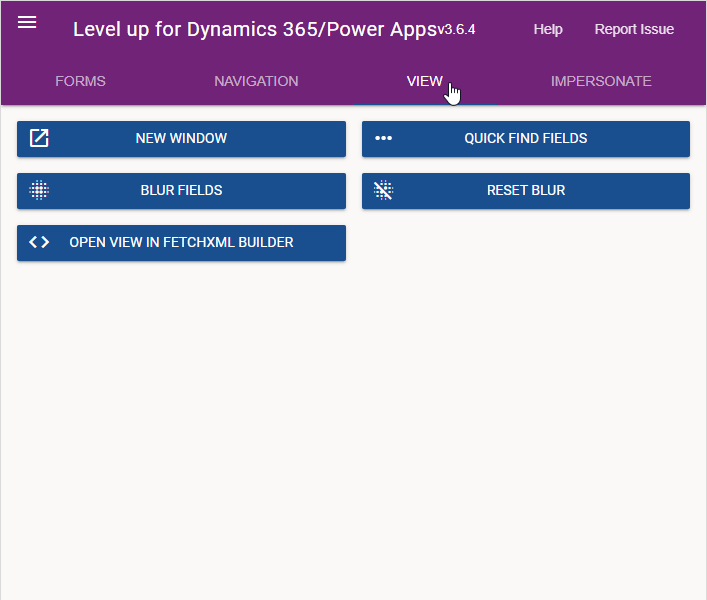 The View tab only provides a view options and for me the Quick Find Fields is the important one. In a new browser tab all fields for the selected table that are configured for the search are displayed. This is really helpful when you want to verify that you have defined all relevant search fields, without the need to go in the backend.
Admin Area
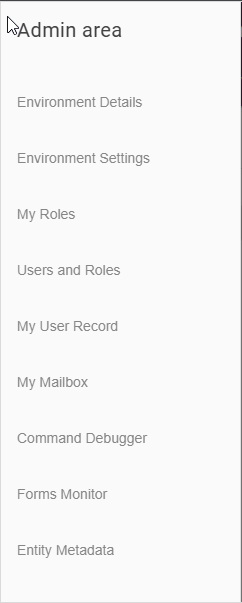 The Admin Area is hidden below the burger menu icon in the top left of Level Up.
In this are there are some very nice functionalities, providing you information not only about the current model driven app, but also for your tenant and environment.
Environment Details will list you the OrganizationId and the Name of the environment as well as the current Organization Version. In addition you will get the EnvironmentID and DatacenterID incl. the Geo. And additional information like TenantId, UrlName, UniqueName, State, SchemaType, and OrganizationType will be shown in the new tab as well.
Environment settings will provide you the full list of all settings that have been configured for this specific environment. What is really nice, is that these information are formatted and you have the search available as well. So if you know, what setting you are looking for this is really helpful.
The next two options My Roles and Users and Roles are very helpful in testing scenarios and also to verify that the security setup of all users has been done. With My Roles you can verify very easily which roles have been assigned to you, Users and roles allows you to see a list of all users incl. the Business Unit, User name and Assigned Roles - but only the ones that are directly assigned and not the ones indirectly shared ba a team membership.
As a developer or admin the last 3 options Command debugger, Forms Monitor and Entity Metadata will be also very helpful.
While the first 2 will add icons in the top navigation bar of Dynamics 365 or the Power Platform Model Driven App, the last one will again open a new tab with a detailed search-able table with information about all tables in your current environment.
 The Command Checker will show you details about the command bar and buttons while the Forms Monitor will track all interactions with your Model Driven App once activated and you can see detailed information about Operations, Status, Duration and Response Size.
Help and Kudos
As this is a free community tool, I really want to thank Natraj Yegnaraman for all the effort he put into building this awesome tool. Natraj is an Australian based MVP for Business Applications.
Level up for Dynamics CRM and the official help is available on Github:
https://github.com/rajyraman/Levelup-for-Dynamics-CRM/blob/master/README.md
All parts of this series (4)
- 1. Power Automate Classic Designer V2 - Browser Extension
- 2. Dynamics 365 Power Pane - Browser Extension
- 3. Metadata Browser for D365 - Browser Extension
- 4. Level up for Dynamics 365 / Power Apps
About CRM and Beyond
Jörgen Schladot

Solution Architect
Dynamics 365 CE & Power Platform
@ Avanade Deutschland GmbH
Recent Posts
Series
Tags
Archives


 azure
azure
 copilot
 dataverse
 dynamics365