SharePoint Integration with Power Pages
This post is part of the SharePoint series.
Prerequisite for activation of SharePoint in Power Pages is that the Standard Dataverse SharePoint Integration is already activated.
Power Platform Admin Center
The next step is to activate the SharePoint Integration for Power pages in the Power Platfrom Admin Center. You can find this option in
PPAC –> Resources –> Power Pages sites –> Services –> SharePoint Integration
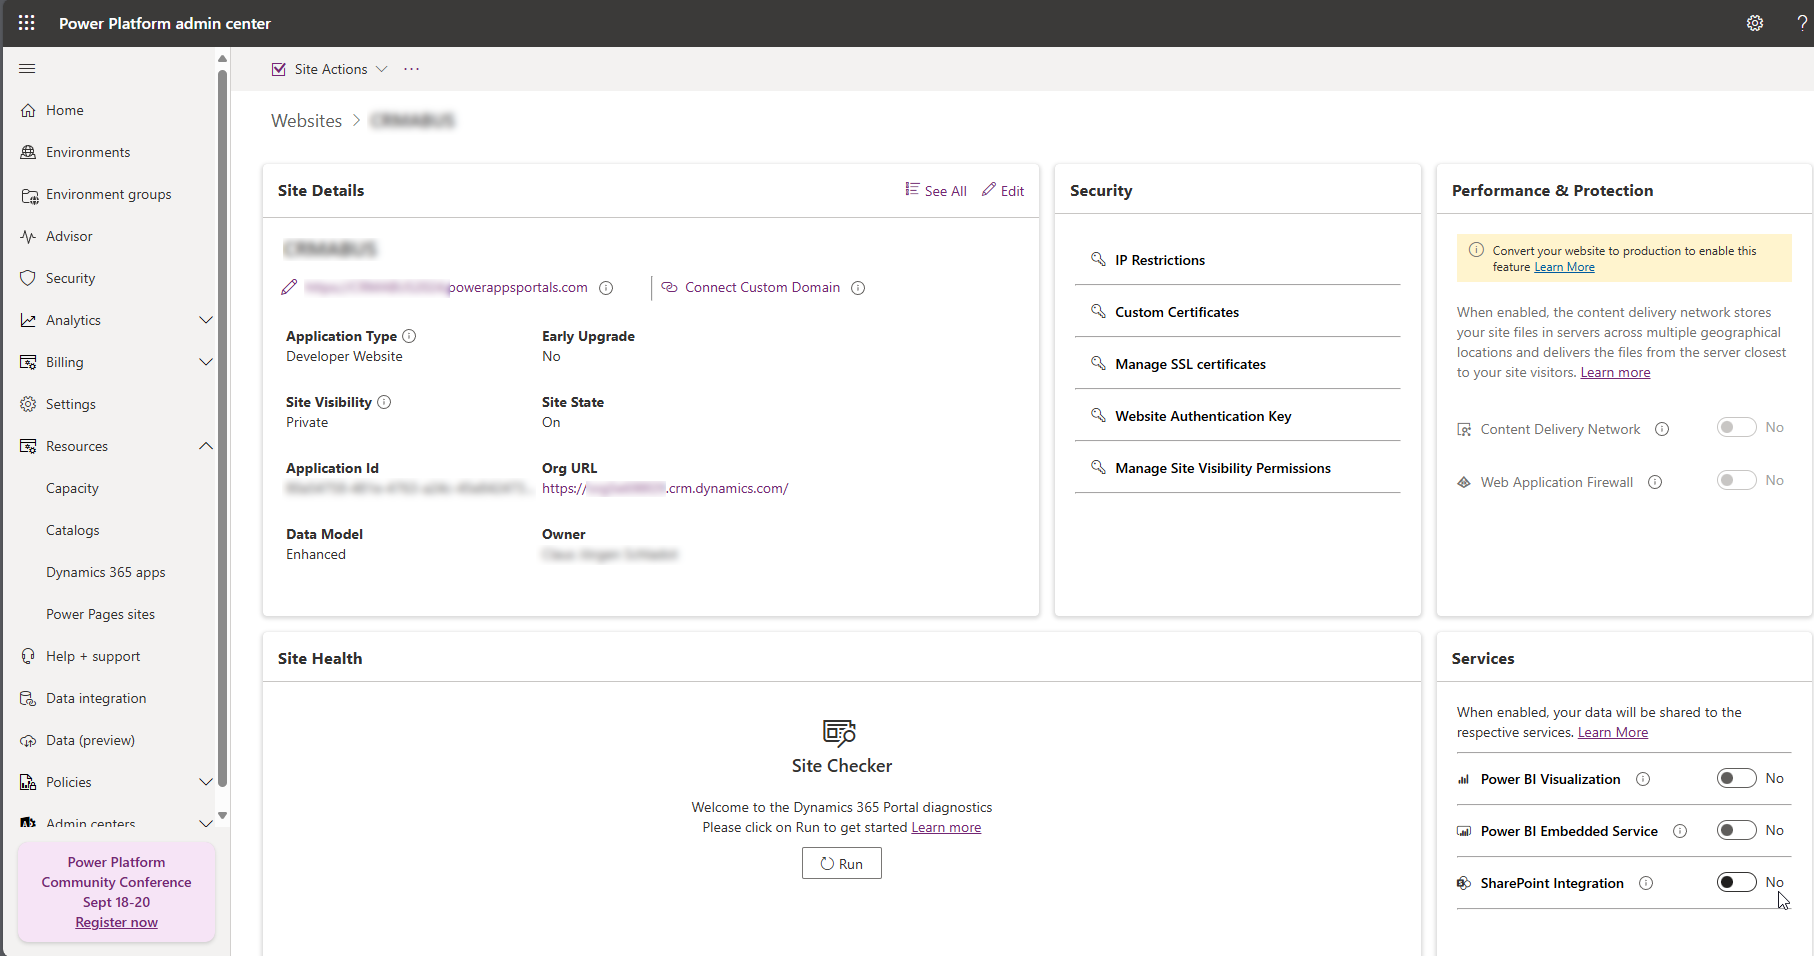 When you click on the switch to activate the SharePoint Integration, a new pop-up window will open. In this pop-up the following MS Learn Documentation is linked: https://go.microsoft.com/fwlink/p/?linkid=2005934
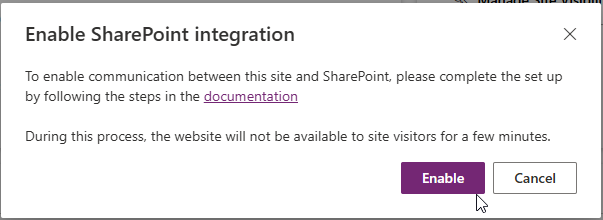 Have a look at the documentation, which is referring to the Standard SharePoint Integration. When you have done all steps, click on Enable.
This will take a while and during this period the website is not available.
After about a minute, you will be asked to log-in with a Global Admin Account
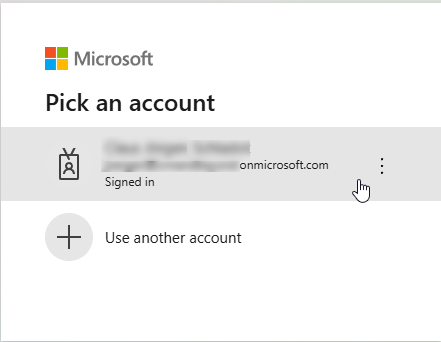 as Permissions are requested
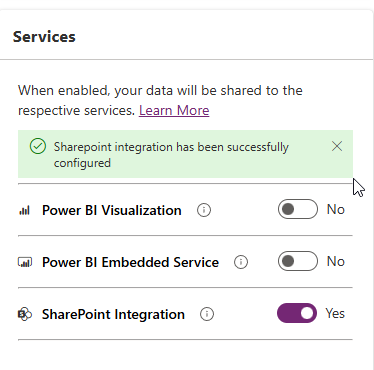
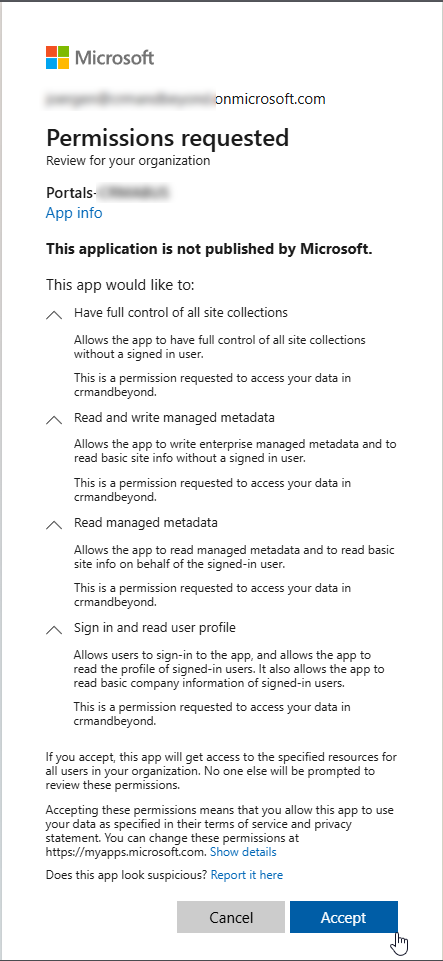 And that’s the enabling part. Once you have granted the requested permissions, you will see the success notification in the PPAC
Visibility of Documents
Now that you have activated SharePoint Document Management in Dataverse and Power Pages, everything could work. Let’s have a look.
Model Driven Apps
- In the Model Driven app, when you navigate to the Event table, you can see the main form with all sections, and when you click on related
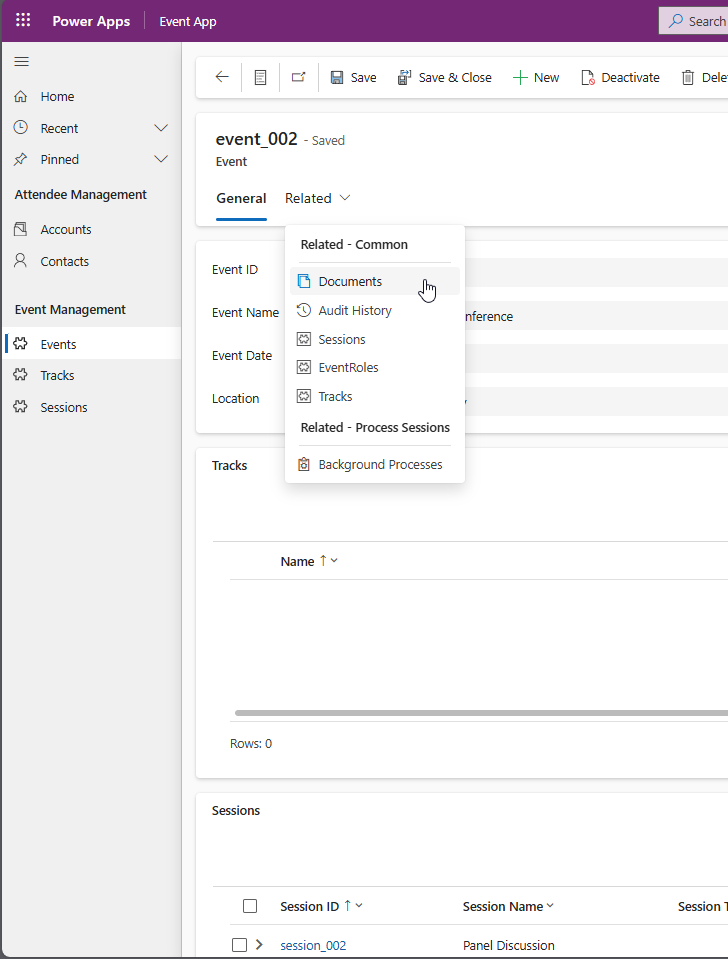
- the Documents will be visible and accessible for you.
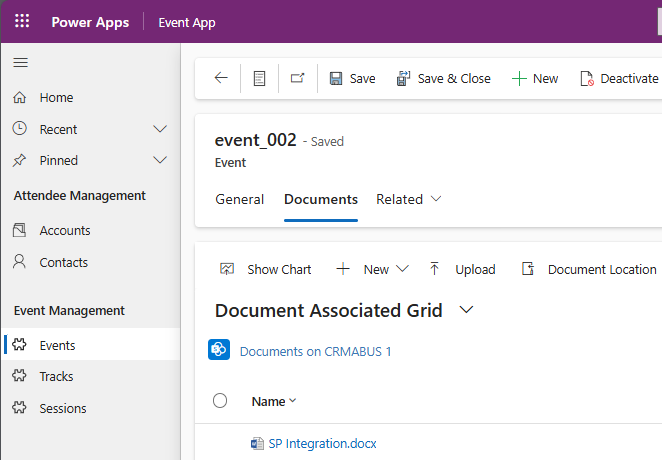
- Once documents are selected, the tab is active and you have access to your documents.
Power Pages
Let’s add the same view and form to the Power Page. Make sure, that you have set the correct permissions to the event grid and form (e.g. Authenticated users).
In the Power Page menu, now click on Security and select Table Permissions
Select the Table where you have entered the Document Locations, in my case, this is the Event table. Based on your requirements, make sure that you have at least Read, or Update, Create, Append and Append to permissions added to this table. Click on Save
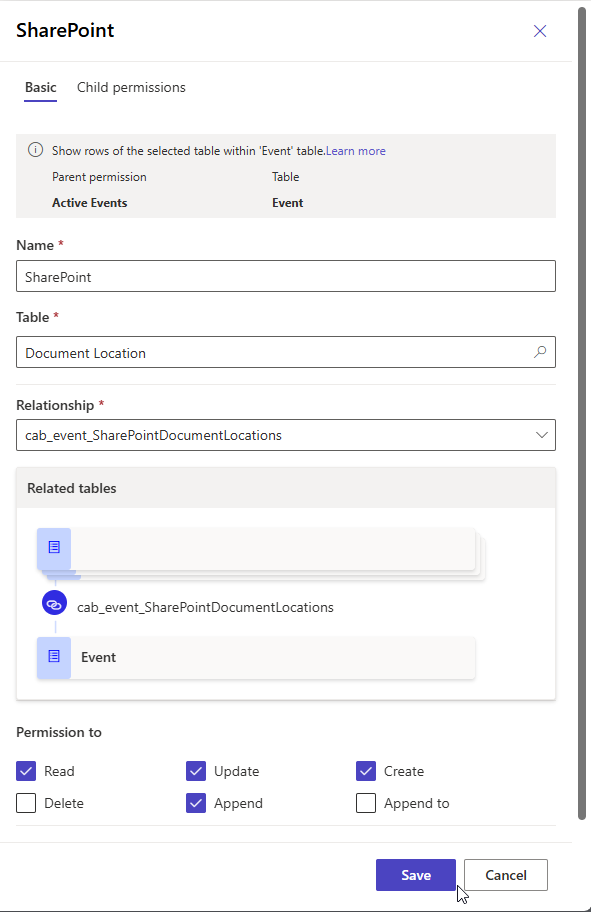
Provide a Name, select Document Location as table and select the Relationship. Then add the requried permissions as above. If you only need read access, select Read, otherwise add Update, Create and Append. Click on Save
Click on Sync and open the preview You can see the different sections on the page, but the documents tab is missing.
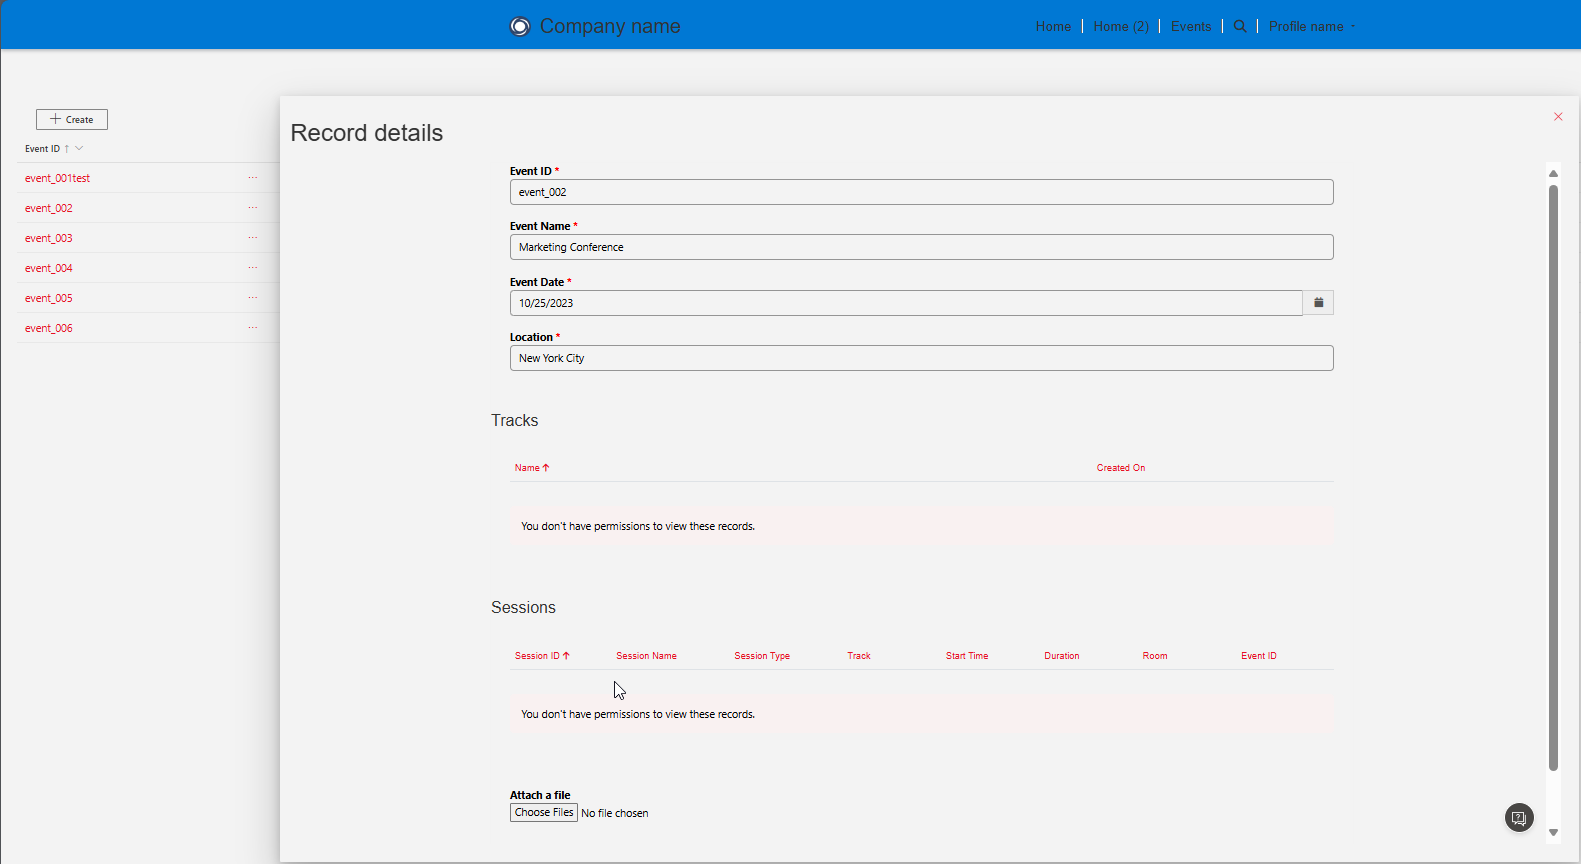
In Power Pages only the related records will be displayed, that you have actively added to your form. This can be achieved either on a new tab, or directly on the first tab as a subgrid on the form.So let’s open the Maker Portal and add the Document locations to the event form.
Either open an existing form and click on save as copy
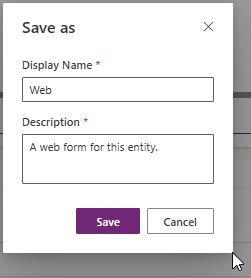 or create a complete new form.
I recommend to either add a new tab or a new section from the component menu to the form. Name it e.g. Power Pages SharePoint. Then add a new subgrid component.
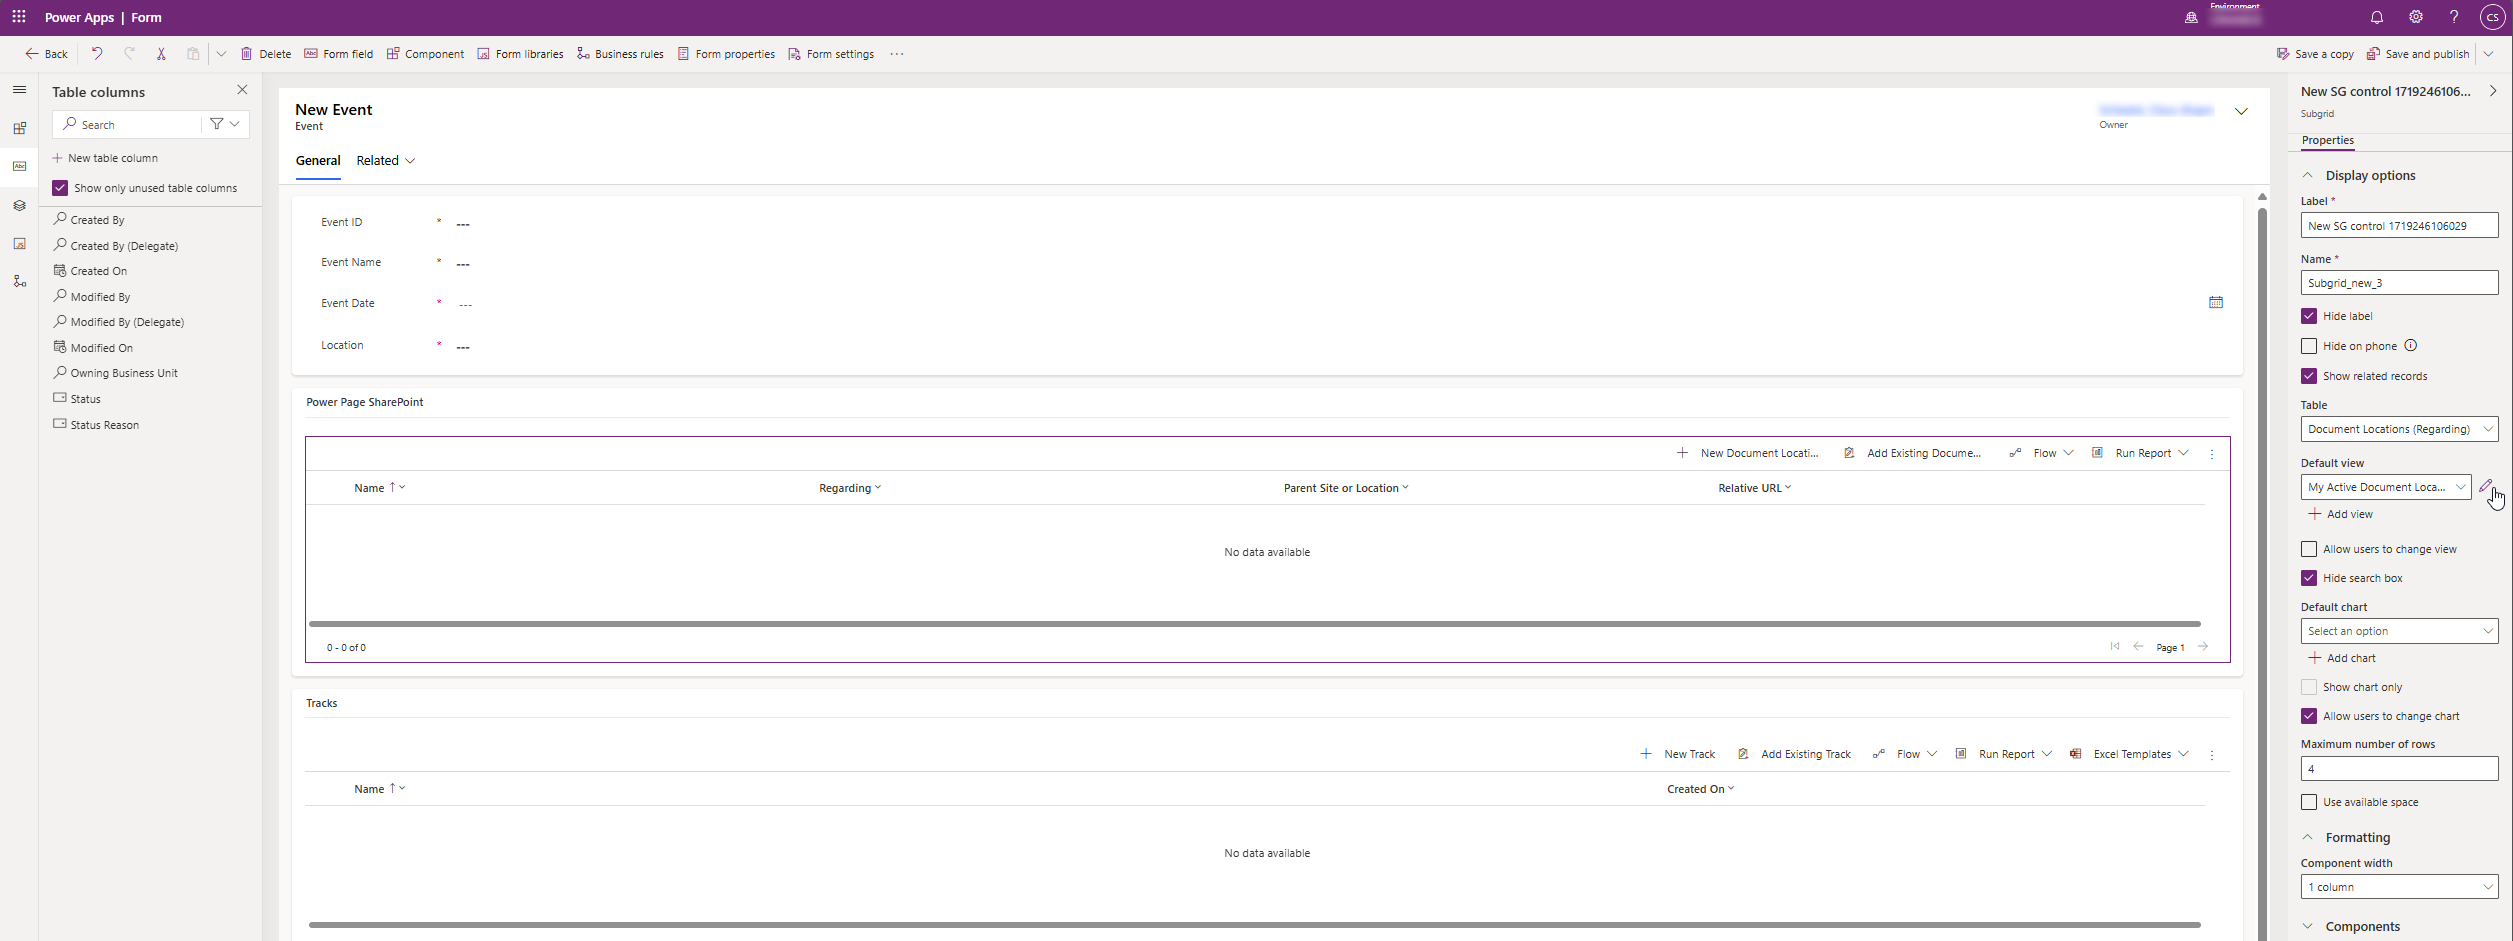
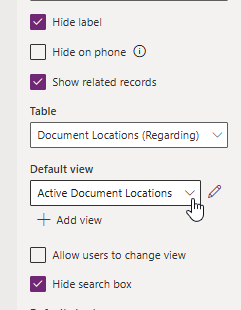
When you have named the section already, you can hide the label of the subgrid. But more important, select Show related records. Then in the table dropdown, select Document Locations (Regarding) and as Default View Active Document Locations
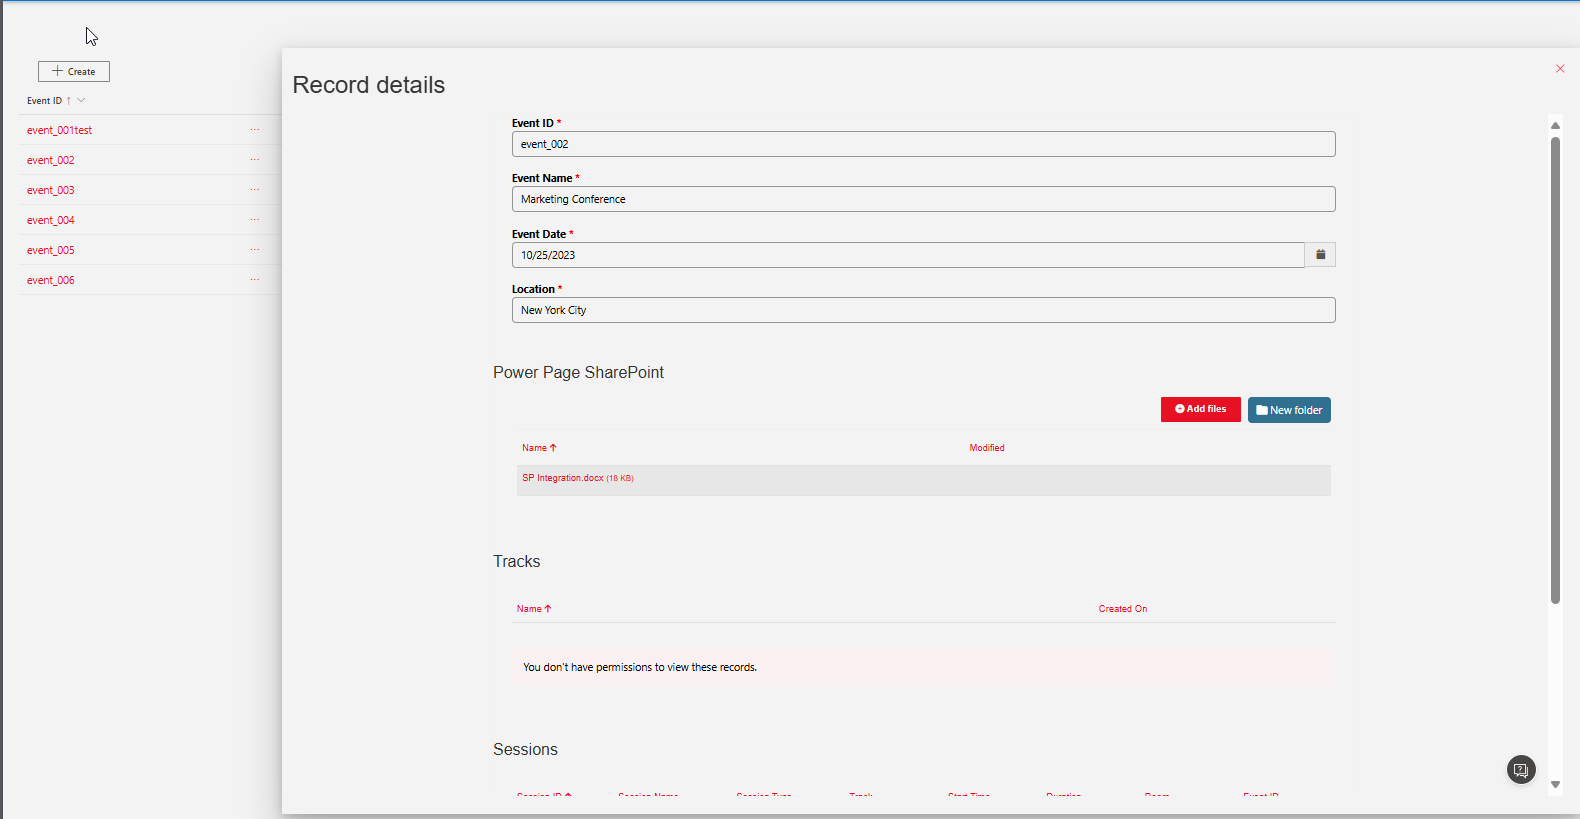
Now switch back to the Power Pages Maker Portal and change the current event form to the just created web form.
All parts of this series (23)
- 4. SharePoint Integration with Power Pages
About CRM and Beyond
Jörgen Schladot

Solution Architect
Dynamics 365 CE & Power Platform
@ Avanade Deutschland GmbH
Recent Posts
Tags
Archives


 azure
azure
 copilot
 dataverse
 dynamics365